![]()
![]()
![]()
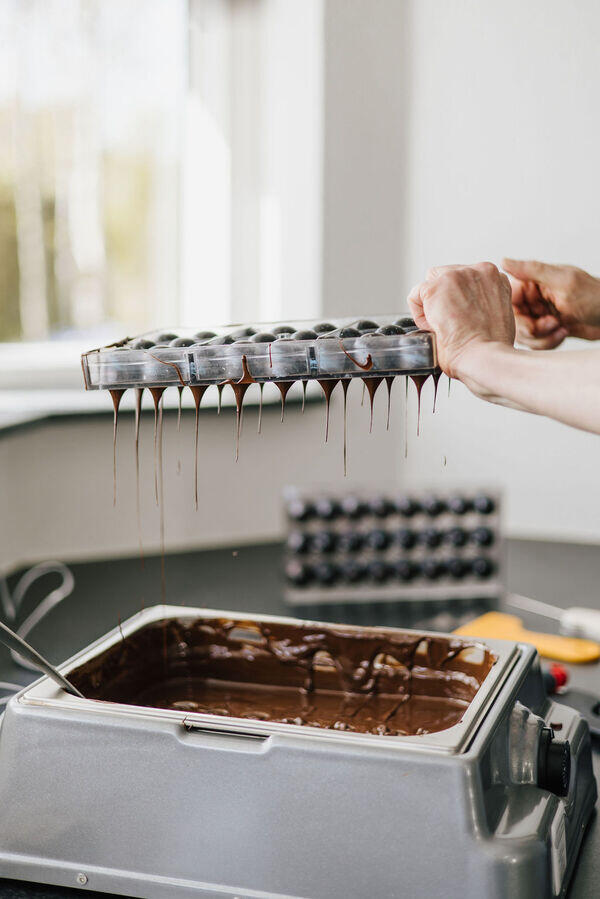
To succeed in making chocolate bonbons, the chocolate must be tempered prior to use. Tempered chocolate will give you beautiful, shiny chocolate bonbons with the perfect snap.
If the chocolate is not tempered correctly, the bonbons will not be released from the mould. Alternatively, they will be released with difficulty but not as nice looking, for example with dull spots or marbling.
Tempering chocolate is not hard but it does require focus. I find that the easiest tempering method is the seeding method, and this is how you do it:
1. Melt 400 g of dark chocolate (chopped into small pieces) in the microwave to 48-49°C (118.4-120.2°F). Melt the chocolate in intervals at approximately 600 watts; at first for 1 minute and then gradually for a shorter time (finally for only 10 seconds). Between each heating, stir the chocolate with a silicone spatula to distribute the heat.
2. When the temperature of the chocolate reaches 48-49°C (118.4-120.2°F), add 100 g of chocolate (chopped into small pieces) to the melted chocolate. Immediately stir the chocolate briefly until all the added chocolate (the seeding chocolate) is covered with melted chocolate.
3. Let the chocolate sit for 2 minutes, and then stir again. Stir calmly and only for around 10 seconds. Continue stirring briefly every 2 minutes, until the temperature of the chocolate passes 34°C (93.2°F) (the critical limit). It is crucial that there is still unmelted chocolate at 34°C. A few small pieces of the seeding chocolate is enough. If there is no unmelted chocolate at 34°C (93.2°F), add 5-10 pieces of chocolate, and stir them into the melted chocolate.
4. After the temperature has passed 34°C (93.2°F), continue to stir the chocolate briefly every 1-2 minutes.
5. If there is still unmelted chocolate at 33°C (91.4°F), heat the chocolate for 5 seconds in the microwave, and then stir briefly again. Repeat if necessary. Just make sure the temperature does not exceed 34°C (93.2°F).
6. When the temperature reaches 32°C (89.6°F), the chocolate is tempered and ready for use.
For tempering of milk chocolate, the process is exactly the same as for dark chocolate. But the temperatures are different. Thus, the milk chocolate only needs to be melted to 43°C (109.4°F), after which the seeding chocolate is added. The milk chocolate is then brought down in temperature with regular stirring along the way (as described above). When the temperature reaches 30°C (86°F), the milk chocolate is tempered and ready to use. For milk chocolate, it is crucial that there are still small unmelted pieces of chocolate at 32°C (89.6°F) (the critical limit).
For tempering of white, ruby, and gold chocolate, the process is exactly the same as for dark chocolate. But the temperatures are different. Thus, the white, ruby, and gold chocolate only needs to be melted to 43°C (109.4°F), after which the seeding chocolate is added. The chocolate is then brought down in temperature with regular stirring along the way (as described above). When the temperature reaches 29°C (84.2°F), the chocolate is tempered and ready to use. For white, ruby, and gold chocolate, it is crucial that there are still small unmelted pieces of chocolate at 31°C (87.8°F) (the critical limit).
If you would also like all the practical tips and tricks for tempering chocolate, e.g. what do you do if the temperature of the melted chocolate has gone too high, or if the temperature of the tempered chocolate has dropped while you were working with it, or if the chocolate has become very thick in consistency?
You will find the solution to these challenges - and many other practical challenges related to making chocolate bonbons - in the e-book CHOCOLATE BONBONS - The Practical Guide.
Equipment List: Get started making chocolate bonbons - what do you need?
Avoid the typical mistakes: Chocolate tempering - 5 mistakes you do not want to make


![]()

